

Filing a storm damage insurance claim correctly determines whether homeowners receive a fair payout or a lowball check. Best Option Restoration shares step-by-step guidance based on what they see every storm season.
- Homeowners should make the property safe first, then document all damage with photos and video before cleanup - keeping receipts for emergency repairs since those costs are reimbursable.
- Review your policy to understand deductibles and whether you have replacement cost or actual cash value coverage, then file promptly within the required window of 30 to 60 days.
- Get an independent contractor estimate to compare against the insurer's numbers and watch for common gaps like missing flashing or code upgrades - and always claim recoverable depreciation after repairs finish.
Start by documenting all damage with photos and videos immediately after the storm passes. Contact your insurance company within 24 to 48 hours to report the claim. Get a professional inspection from a licensed contractor and keep all repair estimates. Review your policy coverage limits and deductibles before accepting any settlement offer from your adjuster.
A hailstorm can shred a roof in under ten minutes, and the clock on your insurance claim starts ticking the moment the sky clears. Filing a storm damage insurance claim the right way decides whether you get a fair payout or a lowball check that barely covers half the repairs.
This post walks you step by step over what to do after a storm, how to work with your adjuster, and where homeowners lose money. Each step comes from what Best Option Restoration sees on roofs, in basements, and across water-soaked drywall every storm season.
What Storm Damage Insurance Covers
Storm damage insurance is the portion of a homeowner’s policy that pays for sudden damage caused by wind, hail, lightning, and falling trees. Most standard policies include it under the dwelling and personal property coverage.
Coverage usually includes:
- Wind and hail damage to roofs, siding, and windows
- Water intrusion from a storm-created opening, like a hole in the roof
- Fallen trees that strike the structure
- Lightning strikes and resulting fire damage
Flooding from rising water is almost never covered by standard policies. That damage falls under separate flood insurance from the National Flood Insurance Program.
Step-by-Step: Handling Your Storm Damage Claim
The insurance claims process moves faster and pays more when you follow a clear order. Skipping steps is where most homeowners lose leverage.
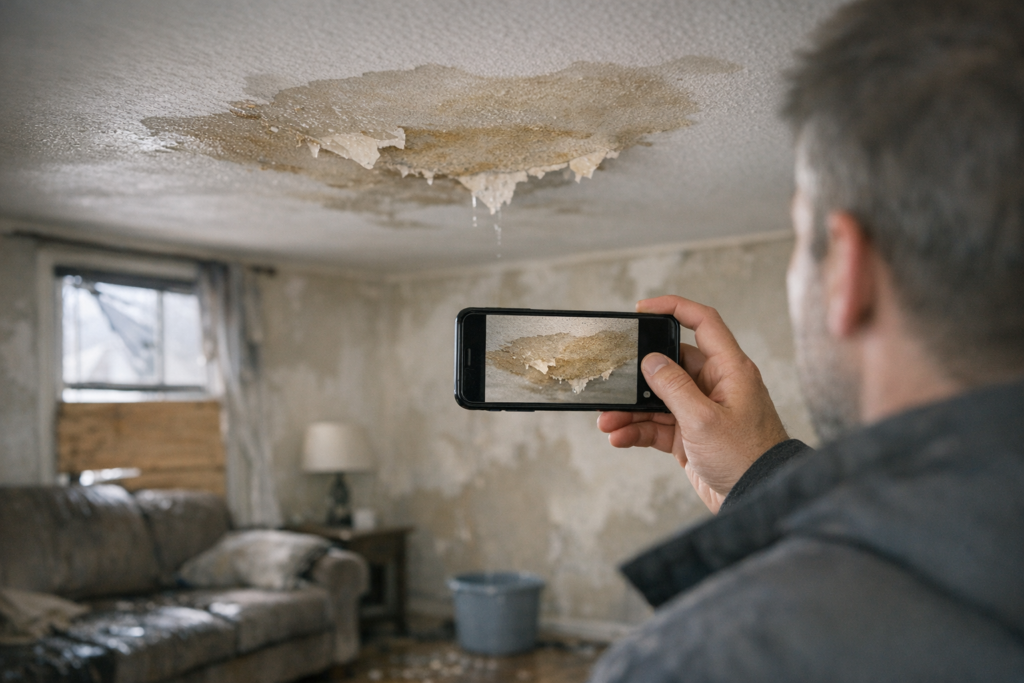
Step 1: Make the Property Safe First
Stop further damage before anything else. Tarp a broken roof, board a shattered window, and shut off water to a burst pipe.
Insurers expect you to prevent additional loss. A soaked ceiling left for three days becomes mold, and mold claims get denied as neglect.
Keep every receipt for tarps, plywood, and emergency repairs. Those costs are reimbursable under most policies.
Step 2: Document Everything Before Cleanup
Photograph and video all damage from multiple angles before you move or discard anything. Date-stamped images carry weight with adjusters.
Capture these details:
- Wide shots of each damaged room or roof section
- Close-ups of hail dents, cracks, and water lines
- Damaged personal items with brand and model visible
- The storm date and any news coverage confirming it
A homeowner in Lakewood once tossed a hail-dented gutter before photos. The adjuster cut $1,400 from the claim because there was no proof.
Step 3: Review Your Policy Before You Call
Read your declarations page and know your deductible, coverage limits, and whether you have replacement cost or actual cash value.
Replacement cost value pays to replace items new. Actual cash value subtracts depreciation. The difference on a roof can run thousands of dollars.
Check for a separate wind/hail deductible too. Many Colorado policies charge 1% to 2% of the home’s value for storm claims, not a flat amount.
Step 4: File the Claim Promptly
Report the damage within the window your policy requires, usually 30 to 60 days. Earlier is better, since claim volume spikes after a regional storm.
When you call, give the adjuster:
- The date and time the damage happened
- A short description of what was hit
- Your emergency repair steps and costs so far
- A request for the claim number in writing
Write down the name of everyone you speak with and the date. This record matters if the claim gets disputed later.
Step 5: Prepare for the Adjuster Visit
The insurance adjuster works for the insurer, not for you. Their job is to assess damage and control the payout.
Be present for the inspection and bring your own documentation. Point out damage they might miss, like soft spots on the roof deck or water staining in the attic.
Having a restoration contractor on-site during the adjuster visit changes the result. At Best Option Restoration, our estimators walk the roof alongside the adjuster and flag damage line by line.
Step 6: Get an Independent Repair Estimate
Never accept the first payout without a second opinion from a licensed contractor. Insurer estimates and real repair costs rarely match.
A written contractor estimate gives you grounds to request a supplement. Supplements are additional payments for damage or costs the first estimate missed.
We see supplements approved constantly for hidden decking rot, code-required upgrades, and matching materials that are no longer sold.
Step 7: Review the Settlement Carefully
Compare the insurer’s line items against your contractor’s estimate before cashing anything. Missing items are easier to add before the claim closes.
Watch for these common gaps:
- Drip edge, flashing, and underlayment left off a roof claim
- Code upgrades like ice-and-water shield now required by building code
- Paint and drywall for only part of a visibly damaged wall
- Depreciation that should be recoverable once work is complete
How Adjusters Think and Where Homeowners Lose Money
Adjusters handle dozens of claims after a major storm. Volume pressure means borderline damage gets written off unless you push back with evidence.
The biggest payout losses come from three places:
- Accepting actual cash value and never claiming the recoverable depreciation. That second check is yours after repairs finish.
- Missing the supplement window. Once a claim closes, reopening it takes far more effort.
- Doing cheap repairs that hide damage. A quick patch can forfeit coverage on the real problem underneath.
Recoverable depreciation is money the insurer holds back until repairs are done. Many homeowners never submit the final invoice and leave that check uncollected.

 Posted on Google
When to Bring in a Restoration Company
Call a restoration contractor the same day you spot storm damage, before you even file. Early documentation and emergency mitigation protect the claim from day one.
Best Option Restoration works storm claims across Lakewood from first tarp to final coat of paint. We handle water extraction, roof repair, structural drying, and mold prevention under one roof.
Our team also speaks the adjuster’s language. We provide detailed scopes, moisture readings, and photo logs that back up every line of your claim.
Key Takeaways
Document damage before cleanup, know your deductible and coverage type, and file quickly to protect your storm damage insurance claim. Match every insurer estimate against an independent contractor’s numbers, and claim your recoverable depreciation before the file closes.
Storm damage moves fast, and so should you. Call or text Best Option Restoration at 303-500-3187, email info@borlakewood.com, or visit https://borlakewood.com for help from inspection to final repair.
Sources
- FEMA – National Flood Insurance Program
- National Association of Insurance Commissioners – Home Insurance
- Insurance Information Institute – How to File a Homeowners Claim
- Colorado Division of Insurance – Homeowners Insurance